Friday 11 April 2014

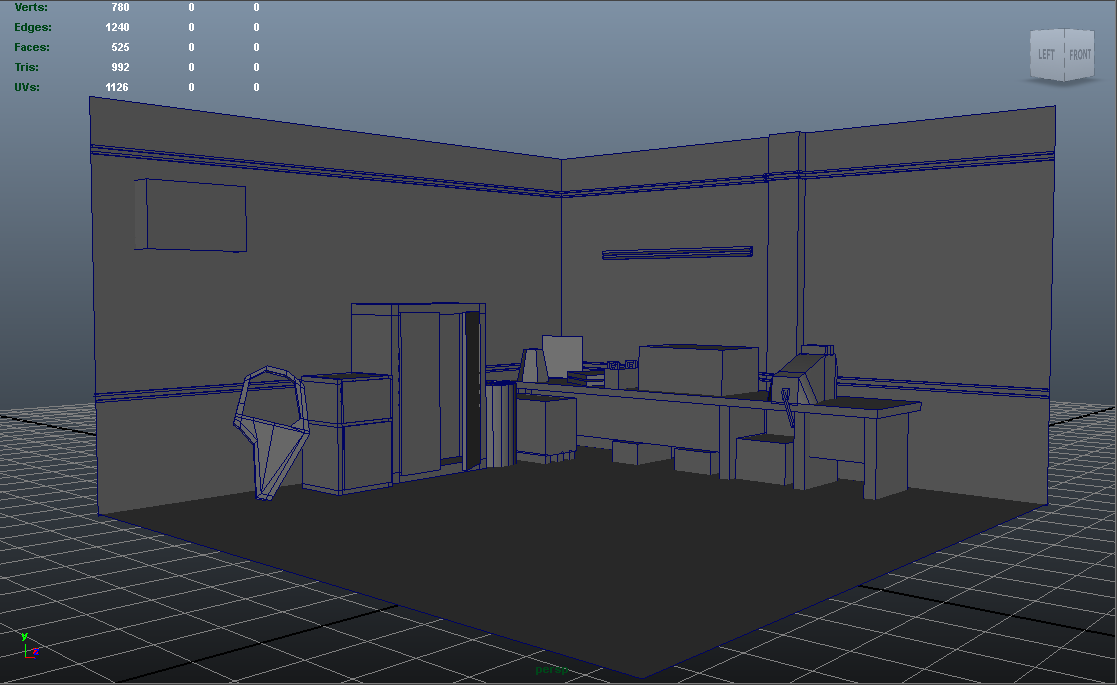
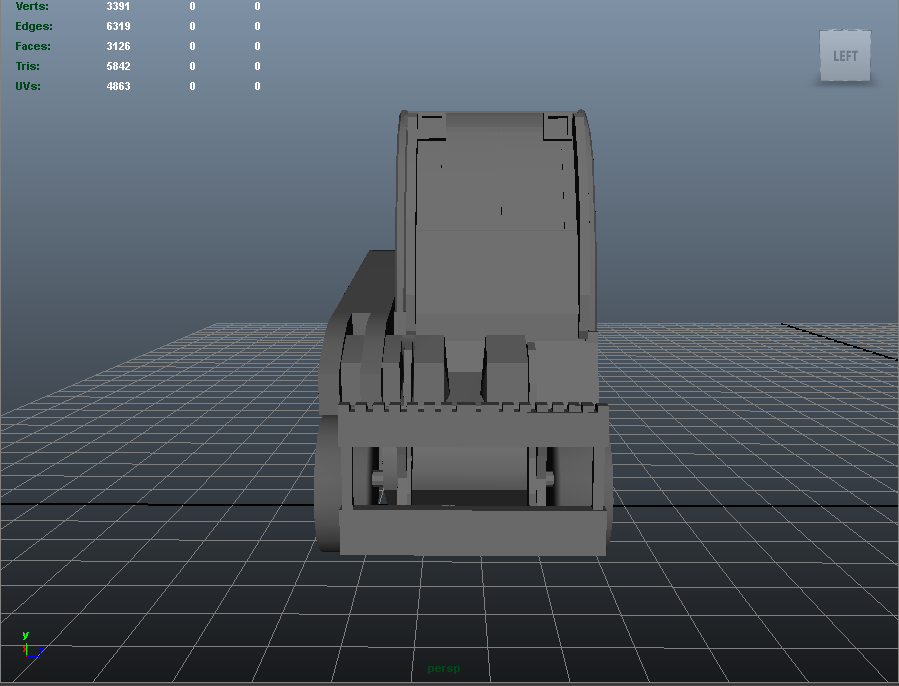
Here is my completed scene. I am very happy with how the vehicle looks and how it fits within the scene. What I am more pleased with is how I have built on the mistakes I made with the previous module last term. I have improved my texturing by not just throwing on any old texture and I have altered textures and used my own. For the actual Vehicle itself I'm very proud of the outcome and I look forward to continuing with my progress. The bottom two shots are my beauty shots in the UDK game engine. Overall I am very happy with the resemblance of the vehicle to my reference shots and how accurate some of the interior is. There are some slight differences that I made due to having constraints on the poly limit but they are small and it is not far from the real thing. I think to improve the vehicle I would need to normal map more items and learn to hand paint dirt/grime more effectively. 


Diorama - Textured

Texturing the diorama was a tricky task as the texture size was tiny (512). The upside to this was that we were allowed four UV textures. This meant I used a separate texture for the walls, the desk, the cabinets and the wires/extractor fan.
I was pleased with the outcome, however looking back at it I feel as though I could of improved the floor by using a tile-able texture rather than just one small texture - however I was constrained by the poly limit of 1000.  I would probably look to include normal maps for certain parts of the diorama - maybe bump mapping the wall/floor to give them a bit of depth.


Step by step - Diffuse


Friday 28 March 2014

Diorama

Placing the vehicle in a particular environment was one of the later tasks of the module. For me I found it fairly simple when choosing where to place the vehicle. I just modelled the scene I found the vehicle in - a repair station. I placed it next to a work bench, a loose door and various boxes scattered around.
This is a blockout version of what I intend to make. It is mostly complete as I have optimised it quite well and I intend on most of the detail to come from the texture and the normal map.


Additionally, here is the original photograph of the scene that my vehicle was in.


My main aim of the scene texturing stage is to maintain the dirt/grime that is represented in the photograph. If my scene is too clean the vehicle will look out of place and the scene will appear unrealistic. 

Friday 21 March 2014

Vehicle Texture

For the texturing part of the vehicle, I opted for a different colour than the traditional yellow construction vehicle. I overlapped many textures to produce a metal that suited the vehicle. I wanted it to appear weathered but also have the impact from the environment it would be placed in. I replicated the decals that I saw on the source vehicle. I made my changes to give it a slight uniqueness in identity.
I was also able to texture my normal mapped wheels. I produced a high poly wheel and baked them down to a simple low poly wheel.
After I produced a base texture for my vehicle and its interior I focused on the details such as text and decals. I feel that it makes the vehicle interesting to look at. Once this stage was complete I started working on the environmental damage that the vehicle would have sustained. I used mainly a brown colour on a hard light layer mode to create brush patches to replicate mud. I did this to the lower of the vehicle such as the tires and the close metal near the wheels as I figured mud would spray up.I also included some scratches where I use a very small eraser to wipe away the base metal texture.
Overall I am satisfied with my vehicle texture and think that it will look best within its soon to be completed diorama. 


Friday 28 February 2014

Low poly model


I completed the low poly version of the construction vehicle. I managed to tackle many of the issues that the block-out left me with. I found the block-out was not in the correct scale and this showed mainly when constructing the parts like the wheel arches and the inner cabin of the vehicle.
There are still some minor issues with the wheels not looking authentic but my plan is to normal map high poly tire treads to the low poly model. The scale of the vehicle is there as I used orthographic views to pull the model into scale. I added many details particularly to the inside of the vehicle and added bolts to the wheel rims. As for the poly count I have managed to stay under by 158 tris. I had to do a fair amount of optimisation through deleting unused faces and merging vertices/deleting edges that were not of use.
Overall I'm satisfied with my low poly and I will begin to work on the high poly parts in preparation of the normal map. I look forward to the UV and texturing of this particular asset. 


Saturday 8 February 2014

Initial Block-out

Here are the initial block - out shots for my construction vehicle. Whilst there are many details to add it was important to get an idea of shape and size. The image planes were helpful apart from the back shot was perhaps larger than the side shots so I had to adjust them in the model. 
The actual model is a bit messy right now but as I reach a more detailed stage of the modelling I will clean up and hopefully it will better optimized.


Thursday 30 January 2014

Reference Shots


For our 'Computer Games Modelling' module, we are assigned the task of creating a construction vehicle and a diorama to place the vehicle in. The constraints for the vehicle is a poly-count of 6000 for the vehicle itself and 1000 for the diorama. Other constraints include using our own textures, 1024 x 1024 texture size and presenting it in 'Unreal Development Kit'. For the reference shots I went out to a 'JCB' dealership and took photos of a 'Teletruk'. The vehicle itself is flexible in its purpose as it can attach multi-purpose components which I will consider including in the model depending on how well I optimise it. To do this I will refer to the other photographs I took while at the dealership. The photographs themselves are helpful as they allow me to create image planes within Maya to guide me whilst modelling. They also help me with the scale of the model.